Monday, 1 April 2013

Spring Daffodil Cake

 For over a year now I have had a plan to make a cake with Daffodils. This style of cake isn't exactly appropriate in the middle of winter - so I've been waiting until spring to make it. (As Spring hasn't yet arrived I decided Easter was the next best thing!)


I baked a giant cupcake and covered it in buttercream and green regal icing. I then used three shades of green sugarflair paste to colour sugar paste and created thin strips for the 'stems'. The daffodils were made from more sugar paste and I used daffodil cutters to create the shape before frilling the edges with a ball tool and then using edible glue to stick them together
The daffodils were stuck on the cake using green royal icing, which was also used to create the 'grass' effect on the board. For extra detail I made little daisies and a ladybird.


I was very happy with this cake - and was very glad that I finally got to make it.


Saturday, 23 February 2013

Star and building block Christening cake


The idea for this cake came from the mum of the little boy being Christened. She knew exactly what she wanted on the cake and she has a good eye for design as it came together well. The lemon sponge was iced in white and then snowflake lustre dust was used to give the cake a shimmer. The stars of varying size and shade of blue were also coated in the edible lustre dust. The icing balls around the side of the cake were arranged in colour order; white, light blue, blue, dark blue and the lustre dust was again incorporated into the design.
The blocks were made out of icing and were surprisingly difficult to shape - but I got there with a bit of determination, an icing smoother and a bit of cardboard! All the stars were made out of regal icing and the letters were made out of petal paste. I got a chance to use my new letter cutters and I have to say I prefer them to my other 'script' lettering (thanks to my friend Sarah for the tip on which ones to buy).
One thing I have learnt from this cake - lustre dust adds a good effect! Especially to the balls around the side. You are likely to see a lot more of that from now on.

Tuesday, 8 January 2013

Poinsettia Christmas Cake


This year I decided that I wanted to learn how to make my own Poinsettia out of icing. Luckily I managed to find a good tutorial in a cake decoration magazine. I ended up making 2; 1 for this cake and 1 to sell for a friend to put on her cake. I was really pleased with how they turned out and would certainly make another. I think a smaller version would look good on an individual sized cake. I decided to pipe around the edge with the same pattern I used for the wedding cake I made in August - I was familiar with this style and felt that it finished the cake of nicely.

Christmas Snowflakes


For this Christmas cake I chose to ice the cake in White and cut out several different sized snowflakes in White. I then used a snowflake lustre dust (edible) to give them their sparkly shine. The snowflakes were then layered on the cake with them tapering off in one corner. This didn't take too long to make (which is handy when you have several cakes to decorate) and I feel that it was still an effective design.

My Chemical Romance

I made a 21st Birthday cake for someone who was a big My Chemical Romance fan. The only request from her mum was that it somehow had to relate to the group; It didn't even have to have her daughter's name, age or 'Happy Birthday' on it.

I decided to paint their logo on the front using edible paste and also to put her daughters name on the top using the style of writing found on their albums.

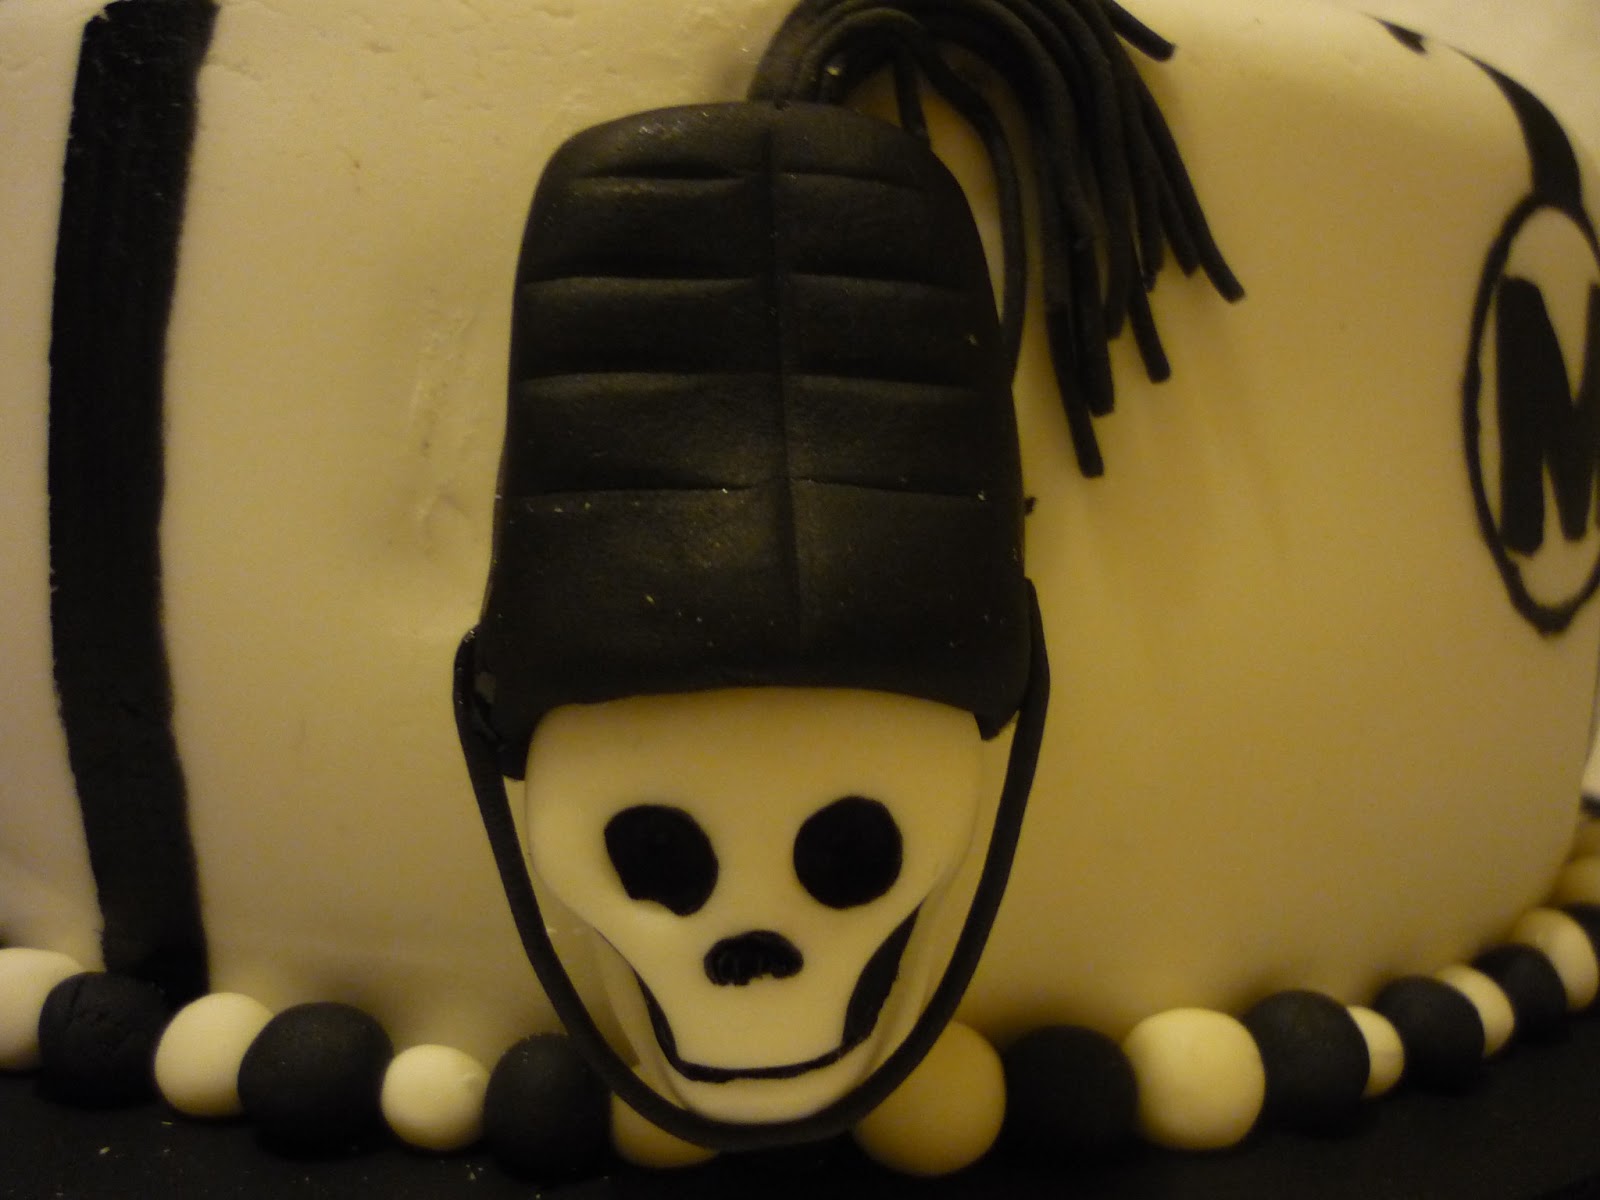
I had been informed that she liked their album 'The Black Parade' so decided to create some of their marching skeletons to place around the side of the cake. These were difficult to attach to the cake as they were heavy and also fragile where the icing acted as a strap for the hat.
Overall I was happy with the finished cake. I enjoyed being able to research a subject area in order to design the cake appropriately. The lady who ordered the cake rang me up especially to let me know how much her daughter liked it.

Wednesday, 5 September 2012

Wedding cake


Last year I was asked to make a wedding cake for one of my best friends. I was very grateful to be asked and although I was looking forward to making my first wedding cake I was very nervous as I wanted to get it right! I spent many an hour practising the piping work to go around the sides as it was not something that I have ever had cause to do/learn before.


I also spent time practising and then making the final roses to go on the cake. I enjoyed making the roses even though they took time and patience. My friend Claire had chosen to have Sweet Avalanche roses in her bouquet and although I may not have got them to look the like Avalanche roses exactly they were at least the same pale shade of pink.

The ribbon around the cake matched the ribbon used on the invitations and also on the favour boxes. That along with the beautiful colours of the Hydrangeas in the flower displays helped to tie everything together nicely.

The top and bottom tiers were fruit cakes and the middle was a sponge cake - meaning I had to ensure I dowelled the cake correctly to avoid squashing the sponge! It was helpful being able to make/marzipan/ice the fruit cakes in advance.

Two days before the wedding I stacked the cakes, placed the ribbon around the sides and then piped them. The piping alone took over 3 hours - which may have been down to me being a novice with perfectionist tendencies.

On the day of the wedding I took the cake across to Buxton (whilst ensuring my Husband drove slowly around every country corner) and when in place on the table I then added the roses which had been carried in a tin surrounded by kitchen towels. I also 'touched up' any piping I wasn't happy with.


I was pleased with the final cake. It took a lot of work and effort but it was definitely worth it.


Sunday, 2 September 2012

Seventieth birthday cake


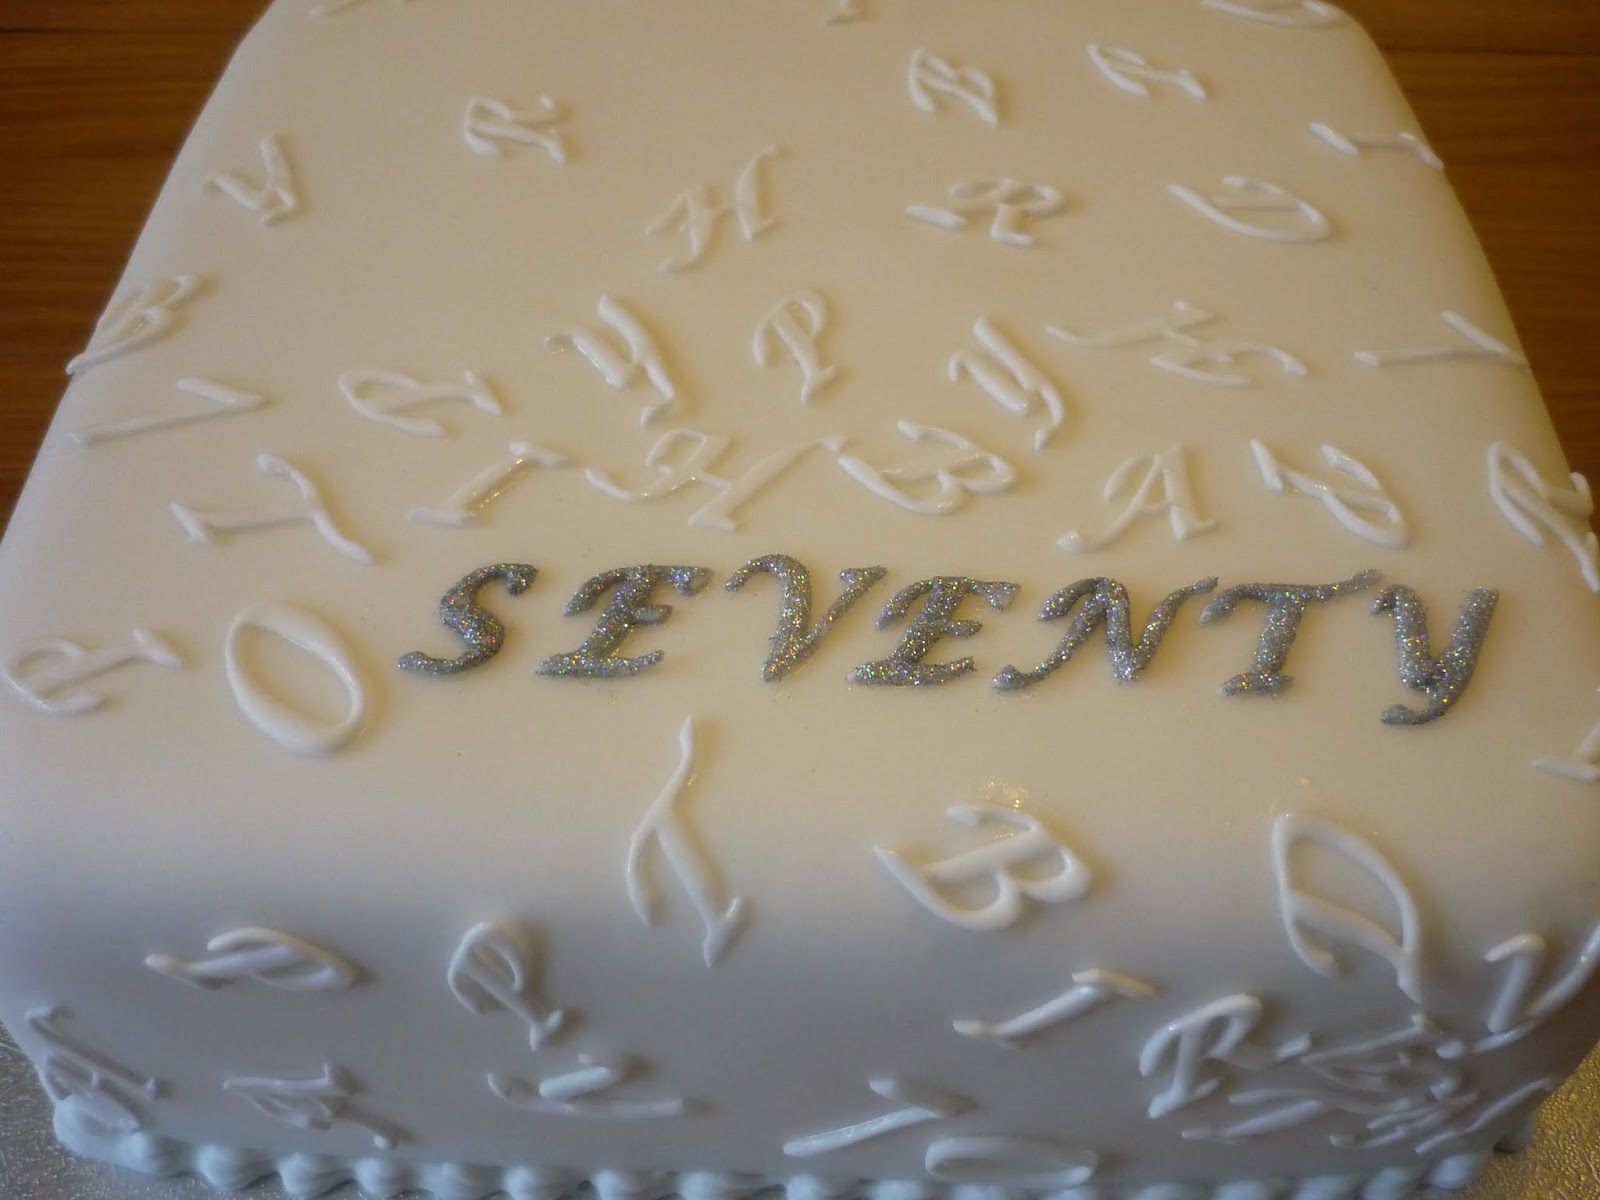
I got the idea for this cake from a friend - Sarah Gold at www.mykindofcupcake.co.uk the design is simple but it creates an effective yet classy cake. The most difficult bit was cutting out all of the letters! The ones in white spell out Happy Birthday and clearly have a 'random' layout on the cake. Except for the ones on the front which you can see do spell out Happy Birthday.
The design of the letters has an impact on the feel of the cake - which could help to personalise it. For example, 'Groovy' lettering would give it a more retro '70's feel.